
Colour Mixing for Canvas Artists: A Practical Explainer
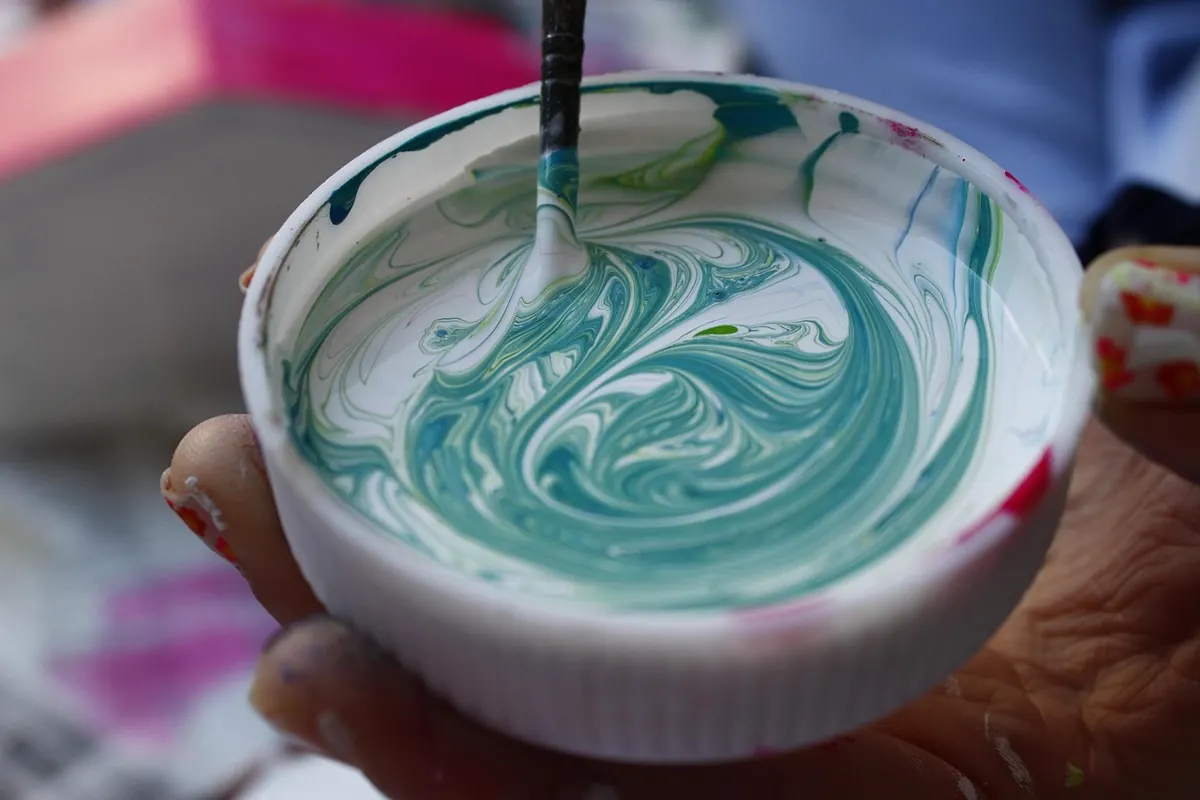
You know the moment. There's a lovely blue on the brush, you touch it into a warm red, and three strokes later you're looking at a grey-brown puddle that resembles something drained from a kettle. Muddy colour feels like a talent problem. It isn't. It's a mixing problem, and mixing is a skill you can learn in an afternoon and then spend years refining.
The principles are simple, but they are specific. Once you understand which pigments actually belong together, and why value matters more than hue, your canvas stops fighting you.
Start with a palette that can mix cleanly
Red, yellow and blue will get you started, but that three-tube version of colour theory belongs on a classroom poster rather than a working palette. Pigments do not behave like coloured light. A red that leans orange and a red that leans violet will take you to completely different places, so most painters keep two of each primary.
- A warm and a cool red: cadmium red for glowing oranges and warm pinks; alizarin crimson or quinacridone magenta for clear purples and deep shadows.
- A warm and a cool yellow: cadmium yellow deep for golden greens and earthy mixes; lemon yellow for sharp, cool greens.
- A warm and a cool blue: ultramarine, which leans towards violet; phthalo or cerulean blue, which lean towards green.
Add a titanium white and one reliable dark — burnt umber is the classic choice — and you have eight tubes that will mix almost anything. Fewer pigments means fewer accidents.
Warm and cool: the quiet rule behind clean mixes
Two colours of the same bias mix cleanly. Ultramarine with alizarin gives a rich, luminous violet. Phthalo blue with lemon yellow gives a vivid spring green you could not buy in a tube. The trouble starts when you pair colours from opposite ends: a warm red with a cool blue can collapse into a flat, chalky grey-violet, and warm yellow with a cool blue swings towards olive when you wanted grass.
That is not a failure of technique; it is chemistry doing what chemistry does. So when a mix looks lifeless, don't reach for a fourth colour. Swap one parent for its opposite bias first. Nine times out of ten, that single change fixes it.
Value first, colour second
Step back from your painting and squint until the details blur. What's left is a pattern of light and dark shapes, and that pattern is doing most of the work. A canvas with accurate values and slightly odd colour reads as convincing. A canvas with perfect hues and flat values reads as a poster.
A useful habit is to mix three versions of every main colour: a light, a mid-tone and a dark. Keep them separate on the palette rather than blending on the canvas. When you need to darken, resist the urge to add black — it deadens colour like a wet blanket. Burnt umber, a complementary mix, or a deeper version of the same pigment will drop the value while keeping the colour alive. To lighten, remember that white cools and desaturates as it pales; a lighter, brighter pigment often does the job with more sparkle.
Why mixes go muddy
Almost all mud comes from one of a handful of causes, and all of them are fixable.
- Too many pigments in one pile. Two is clean. Three is doing a job. Four is a mistake.
- A dirty brush. A brush carrying residue from a previous mix will contaminate everything it touches. Wipe it on a rag, and rinse it properly before switching colour families.
- A spreading palette. Old piles creep into new ones. Scrape the mixing area clean between batches.
- Black as a darkener. It greys everything it meets. Use it for deliberate shadows, not as a value knob.
- Strong tinters. Phthalo blue and alizarin will overwhelm a mix from a speck. Add them last, on the tip of the knife.
- Endless correction. Pushing paint around on the canvas to "fix" a colour usually stirs everything together. Mix it again on the palette instead.
A mixing routine that keeps colours clean
- Decide the value you need before you decide the colour. Ask whether this shape is a light, a mid or a dark.
- Put down the pigment you need most of first, then add the smaller quantity to it. It is far easier to adjust a large pile than to rescue a small one.
- Mix with a palette knife for consistency, or with a brush kept solely for mixing.
- Test the colour with a small stroke on a scrap of canvas or board, placed next to the colour it will sit against. Colour is relational; a mix that looks dull alone can look bright beside the right neighbour.
- Keep your palette organised in zones — lights, mid-tones and darks — so you're not hunting through a smear of grey for the green you mixed ten minutes ago.
- Mix more than you need. Running out mid-stroke and trying to recreate the exact tone is how paintings get patchy.
Wet colour is not dry colour
Acrylics dry a shade or two darker and slightly flatter than they look on the palette, so a mix that seems perfect wet can look weak once it has set. Oils shift less dramatically, though some pigments behave differently in thin washes than in thick paint. The reliable solution is to test on the same surface you're painting on: a strip of the same canvas or board, primed the same way. If you work over a coloured ground, remember that thin paint will always let some of it through, which changes the mix from underneath.
Keep a swatch book, and use it
Buy a small sketchbook and treat it as a mixing log. For each colour, note the pigments, the rough proportions, and where you used it — "two parts ultramarine, one part burnt umber, touch of white: roof shadow." Painted swatches are better than written notes, because memory for colour is unreliable and a photograph will not match what you actually mixed.
Alongside that, try a self-imposed limit now and then. Paint a whole small study using three colours plus white: a warm red, a cool blue and a yellow, say. Restrictions teach you what each pigment can really do, and they force invention in the places where you would normally reach for another tube.
Mixing is not a preliminary chore before the real painting begins — it is the painting, in its earliest form. Expect a certain amount of mud. Every painter has a palette full of it somewhere in their history, and most of what you know came from working out how to get back out.
Photo: yanifarnet / Pixabay