
How to Stretch Your Own Canvas: A Step-by-Step Tutorial for Beginners
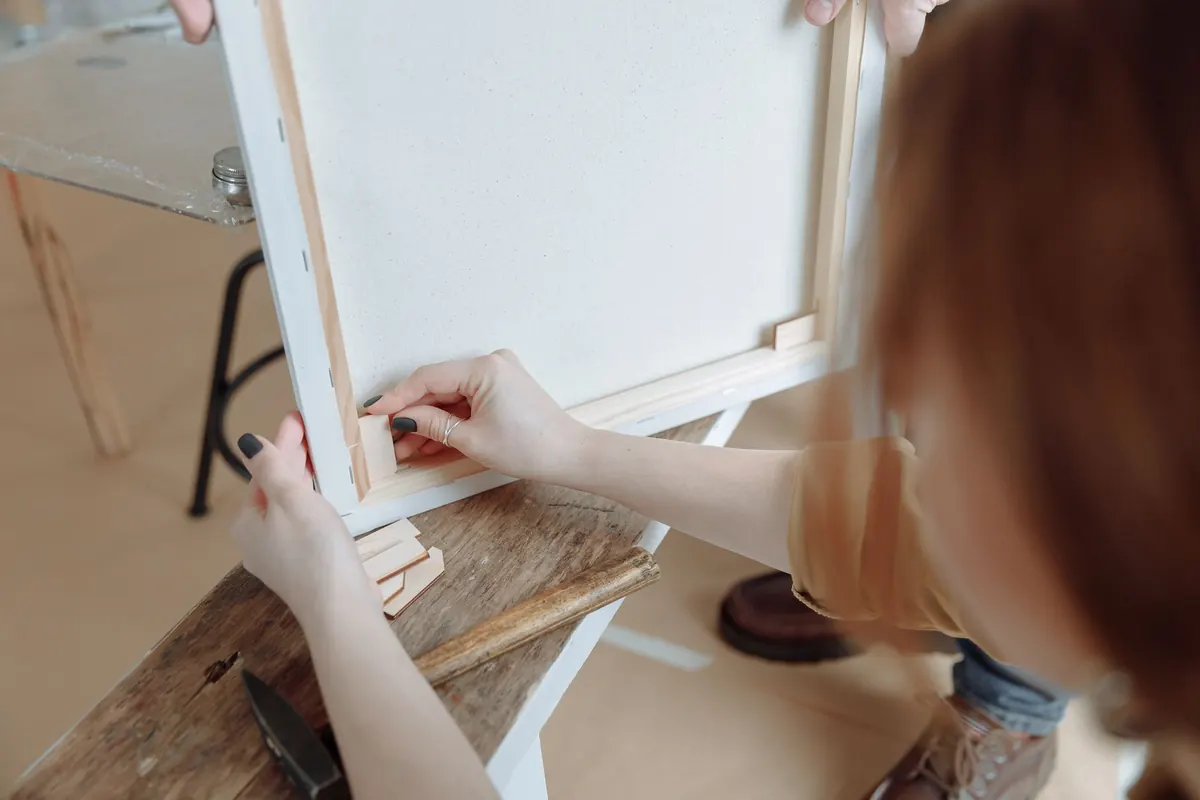
Stretching your own canvas costs less than buying ready-made, and it gives you two things a shop cannot: any size you like, and a surface you chose yourself. A 60 × 90 cm canvas takes roughly an hour to build and stretch, less once you have done a few. The priming afterwards needs time to dry between coats, and that is the one part you cannot rush.
What you will need
Everything here is available from art shops and most hardware stores. Buy decent stretcher bars rather than the cheapest ones — warped bars will fight you all the way to the last staple.
- Stretcher bars: two bars for each dimension, so a 40 × 50 cm canvas needs two 40 cm bars and two 50 cm bars. They have a slotted end and a tongue end, and they come with wooden keys (wedges) in a little bag.
- Canvas: cotton duck is the usual starting point. Around 10 oz is a good all-rounder; heavier weights hold up better on large pieces and give a coarser weave.
- A staple gun and staples: 6–8 mm staples are ideal. Longer staples can punch through shallow bars and scar the front.
- Canvas pliers: the one tool worth spending money on. They let you pull an even, controlled tension without shredding your fingertips.
- A mallet for tapping joints and keys.
- Tape measure, carpenter's square, pencil.
- Scissors or a sharp craft knife.
- Acrylic gesso, a wide flat brush and fine sandpaper (around 240 grit).
- A dust sheet or newspaper for the priming stage.
Assembling the stretcher bars
Work on a clean, flat surface. Offer the tongue of one bar into the slot of another and tap gently with the mallet — if it resists, check you have not reversed the joint. Force here only splits the wood. Build the rectangle corner by corner, and keep the face you intend to paint on downwards; the front stays cleaner that way.
Check it for square
Measure both diagonals. If they match, the frame is square. If not, ease the joints and re-tap, or give the long corner a light nudge while supporting the opposite one. Do not hammer hard on a mitre joint; a stubborn frame usually means one bar is slightly warped, and swapping it is quicker than fighting it.
For anything much over 90 cm a side, add a cross brace or centre bar. Long bars bow under tension, and a bowed frame gives you a surface that rocks on the wall and a canvas that never quite sits flat. Many bars have slots cut for exactly this.
Leave the wooden keys in their bag for now. They go in after priming, and again later if the canvas slackens.
Cutting the canvas with enough to spare
Unroll the canvas and let it lie flat for an hour if it has been tightly rolled; curl makes even tension much harder to achieve. Lay the assembled frame face down on the cloth.
Measure your border from the outside edge of the bar: allow 5 cm for a standard bar about 2 cm deep, and more for deep gallery-wrap bars. On a small canvas, err generous — extra cloth is easy to trim and impossible to add. Cut with long, steady strokes so the edge stays straight; a ragged edge pulls unevenly. You can cut around the frame, but a ruler and a pencil line first will save you a wobbly border.
Tensioning: the four-pass method
This is where a stretched canvas either sings or sags. The principle is simple: pull a little, often, from the middle outwards, and rotate around the frame so the tension builds evenly.
- Set the centres. Fold the border over the back of one long bar and place a single staple in the middle. Do the same on the opposite bar, then the two short ones. You are pinning the cloth in place, not tightening it yet.
- Work outwards in pairs. Add staples every 4–6 cm, moving from the centre towards the corners. Do a couple on the top, then the bottom, then left, then right. Rotating like this keeps the weave from being dragged in one direction.
- Use the pliers. Grip the canvas a few centimetres from the edge, roll your wrist to pull a fold of cloth over the bar, and staple while holding the pull. You will feel the surface firm up under your hand as you go.
- Stop short of the corners. Leave the last 5 cm on each side free. Once every side is within 5 cm of the corners, do a second pass filling the gaps, checking the front as you go.
- Fold the corners last. Pull the corner of the cloth outwards diagonally so it lies flat, press the two flaps against the back, and staple through the fold. Trim bulky excess inside the fold, but leave about a centimetre so the corner cannot open up later.
Keep staples parallel to the edge rather than angled, and never let one bite through to the front. If you spot ripples radiating from a staple, you have pulled harder in that spot than its neighbours — pull the staple, ease the cloth and redo it.
Priming the surface
Give the canvas a flick with your finger. It should sound like a drum. Faint ripples often disappear once you tap the keys into the corner slots, but do that gently and evenly, a little at a time, or the mitre can crack.
Acrylic gesso is the straightforward choice on cotton duck. Thin the first coat slightly with water so it sinks into the weave and seals it, then apply two or three full-strength coats on top. Brush one way, then across it, so the weave is properly covered. Sand lightly between coats with fine paper, and wipe away the dust with a barely damp cloth.
If you are painting in oils on raw linen, size the cloth first — traditionally with rabbit-skin glue — because linseed oil will eventually damage untreated fibres. Acrylic gesso on cotton is fine for both acrylics and oils. If you plan to hang the finished piece unframed, prime the sides as well.
Rushing the primer is the most common reason a home-stretched canvas goes slack. Let each coat dry properly and the surface will still feel taut months later.
When it goes wrong
- Sagging after priming: tap the keys in a little further, working round the corners evenly.
- A single stubborn dip: mist the back of a raw cotton canvas lightly with water and let it dry. Do not do this once the surface is primed or sealed.
- Wavy edges near the staples: usually too much pull in one area. Remove the offending staples and re-tension that stretch.
- Staples tearing through: the cloth is too thin for the force, or you have bought short, sharp staples. Reduce the pull or add a second, offset row.
- Bars bowing: nothing for it but to add a cross brace and start again. Check the frame for square before you restretch.
Your first one, then your second
Start with something modest: a 30 × 40 cm frame on 10 oz cotton, primed with three thin coats. The first attempt will feel fiddly and you will probably over-pull somewhere. The second takes half the time. Keep a short note of the canvas weight, bar depth and number of coats you used, and you will be able to repeat a surface you liked without guessing. After two or three, buying a ready-made canvas starts to feel like a compromise.
Photo: Thirdman / Pexels